
Introduction
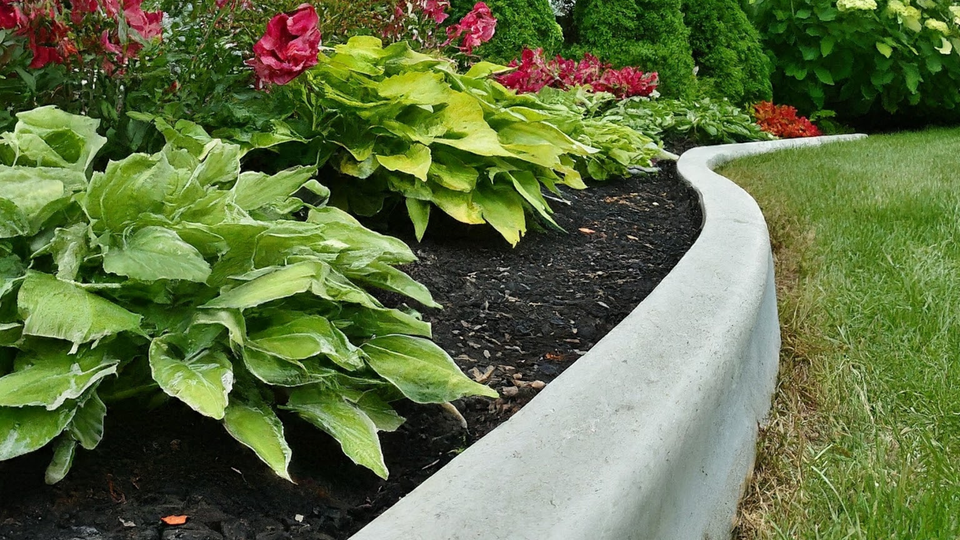
Concrete curb installation is an excellent way to enhance the appearance and functionality of your landscape. This comprehensive guide will take you through every step of the concrete curb installation process, from prepping the site to adding those finishing touches.
Whether you are a DIY enthusiast or planning to hire professionals, understanding the steps involved can help ensure a successful project.
Whether you are a DIY enthusiast or planning to hire professionals, understanding the steps involved can help ensure a successful project.
Site Preparation
Step 1: Clearing the Area
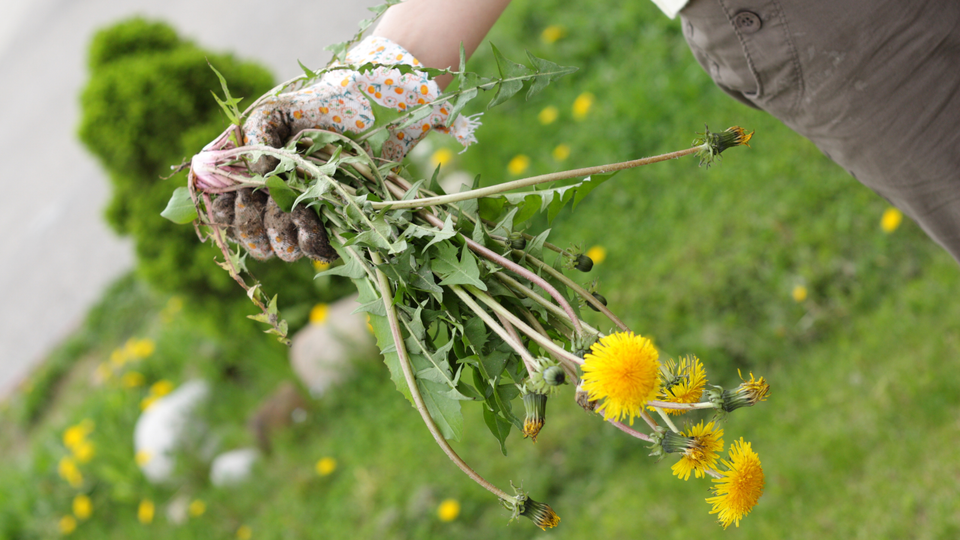
Start by clearing the area where the concrete curb installation will occur.
Remove any grass, weeds, and debris.
Ensure the ground is level and compacted.
Any soft spots or unevenness can cause the curb to settle and crack over time.
Step 2: Marking the Boundaries
Next, mark the boundaries of your landscape curbing installation.
Use stakes and string to outline the area accurately. This helps maintain a straight or curved line as per your design.
Quick Tip: Use a garden hose to outline curved areas before marking them with stakes and string.
Step 3: Digging a Trench
Using a spade, dig a trench along the boundary lines marked earlier.
The trench should be at least 6 inches deep and wide enough to accommodate the width of your desired curb.
Make sure the edges are straight and even.
Design Layout
Step 4: Choosing the Shape and Style
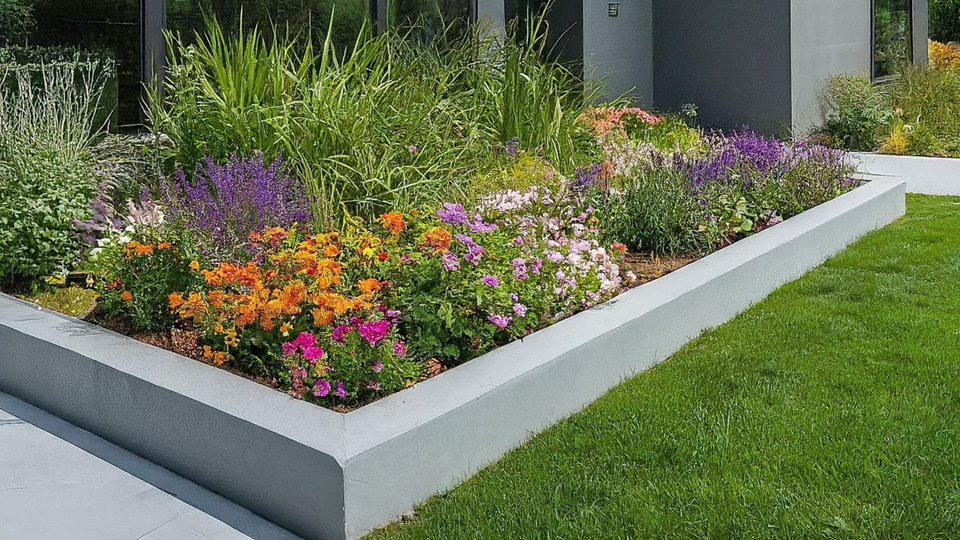
Decide on the shape and style (link to: Design Options for Concrete Curbing: Styles and Patterns) of your concrete curb. You can choose from various designs such as straight, curved, slant style, mower style, or custom shapes.
Consider the purpose of your concrete curb installation and the overall aesthetic of your landscape when making this decision.
Step 5: Forming the Curb
Use wood or flexible plastic to create a form for your concrete curb. Place it along the edges of the trench, following your chosen shape and style.
Secure it firmly with stakes to avoid shifting during the concrete pouring process.
Did You Know? Flexible forms are ideal for creating curves and intricate designs in your concrete curb installation.
Mixing the Concrete
Step 6: Preparing the Mix
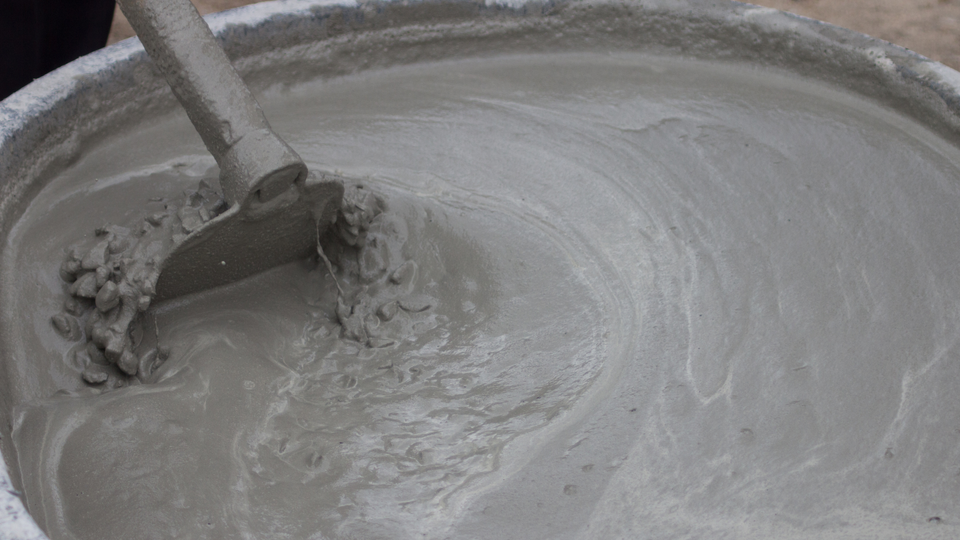
It's crucial to use the right concrete mix for a durable curb.
Typically, a mix of one part cement, two parts sand, and three parts gravel is ideal.
Step 7: Adding Water
Gradually add water to the mix while stirring. The consistency should be firm but workable.
Avoid adding too much water, as it can weaken the concrete.
Pouring the Concrete
Step 8: Filling the Forms
Carefully pour the concrete into the forms.
Use a shovel or trowel to spread it evenly and ensure there are no air pockets.
Step 9: Compacting the Concrete
Compact the concrete using a tamper or a piece of wood. This ensures there are no voids and a smooth surface.
Carefully pour the concrete into the forms.
Use a shovel or trowel to spread it evenly and ensure there are no air pockets.
Step 9: Compacting the Concrete
Compact the concrete using a tamper or a piece of wood. This ensures there are no voids and a smooth surface.
Setting the Concrete

Step 10: Leveling the Surface
Use a straight edge to level the concrete surface.
Run a trowel over the surface for a smooth finish.
Step 11: Adding Expansion Joints
Expansion joints are necessary to prevent cracking. Place them every 5-6 feet while the concrete is still wet.
Quick Tip: Use a trowel to create expansion joints by pressing into the wet concrete.
Finishing Touches
Step 12: Removing the Forms
Allow the concrete to set for at least 24 hours.
Carefully remove the forms to avoid damaging the curb.
Allow the concrete to set for at least 24 hours.
Carefully remove the forms to avoid damaging the curb.
Step 13: Curing the Concrete
Curing helps improve the strength and durability of the concrete.
Keep the surface moist for at least a week by spraying it with water.
Curing helps improve the strength and durability of the concrete.
Keep the surface moist for at least a week by spraying it with water.
Concrete Curb Installation Mistakes to Avoid
Mistake 1: Incorrect Concrete Mix
Using the wrong mix can result in weak and brittle curbs. Stick to the recommended ratios.
Mistake 2: Skipping Expansion Joints
Not adding expansion joints can lead to cracks. Always include them in your design.
Mistake 3: Removing Forms Too Soon
Removing forms before the concrete has fully set can cause deformation. Allow adequate setting time.
Concrete Curb Installation FAQs
Q: How long does it take for concrete to fully cure?
A: After landscape curbing installation, the concrete typically takes about 28 days to reach its full strength. However, it can be walked on after 24-48 hours. It’s important to keep the surface moist for at least a week to ensure proper curing of the concrete curb installation.
Q: Can the installation of landscape curbing occur in cold weather?
A: The installation of a concrete curb can be successful in cold weather, but extra precautions are needed. Use cold-weather additives and consider insulating the forms and concrete to protect them from freezing temperatures.
Q: How often should expansion joints be placed?
A: Expansion joints should be placed every 5-6 feet to prevent cracking due to temperature changes and ground movement.
Q: What is the best way to maintain concrete curbs?
A: Regular cleaning and sealing can help maintain the appearance and durability of concrete curb installations. Inspect for cracks and repair them promptly to prevent further damage.
Q: Do I need to use a sealer on my concrete curbs?
A: While not strictly necessary, a sealer can help protect concrete curbs from weathering and staining, extending their lifespan. For best results, apply a sealer every 1-2 years.
Q: Is it necessary to hire a professional for concrete curb installation?
A: While it is possible to do it yourself with the right tools and knowledge, hiring a professional can ensure that the concrete curb installation job is done correctly and efficiently, especially for larger projects.
Conclusion
Concrete curb installation is a valuable addition to any landscape. You can ensure a smooth and successful project by following these steps and avoiding common mistakes. Whether you choose to do it yourself or hire a professional, understanding the process will help you achieve the best results.